

Key Takeaways
- A luxury kitchen renovation is a multi-phase journey – from the first design meeting to final handover – that typically spans 3–6 months in total.
- On-site construction for a high-end kitchen remodel usually runs 6–12 weeks in 2026, plus several weeks of planning and ordering before a single tile is lifted.
- Appliances, layout, and ventilation must all be decided before construction begins to avoid costly delays and redesign fees.
- Expect dust, noise, and a temporary loss of your main cooking space – but balanced against a lasting uplift in daily living and home value.
- With proper planning, solid contracts, and a realistic 10–20% contingency fund, even a complex renovation can run smoothly and on budget.
Introduction: What Makes a Luxury Kitchen Renovation Different?
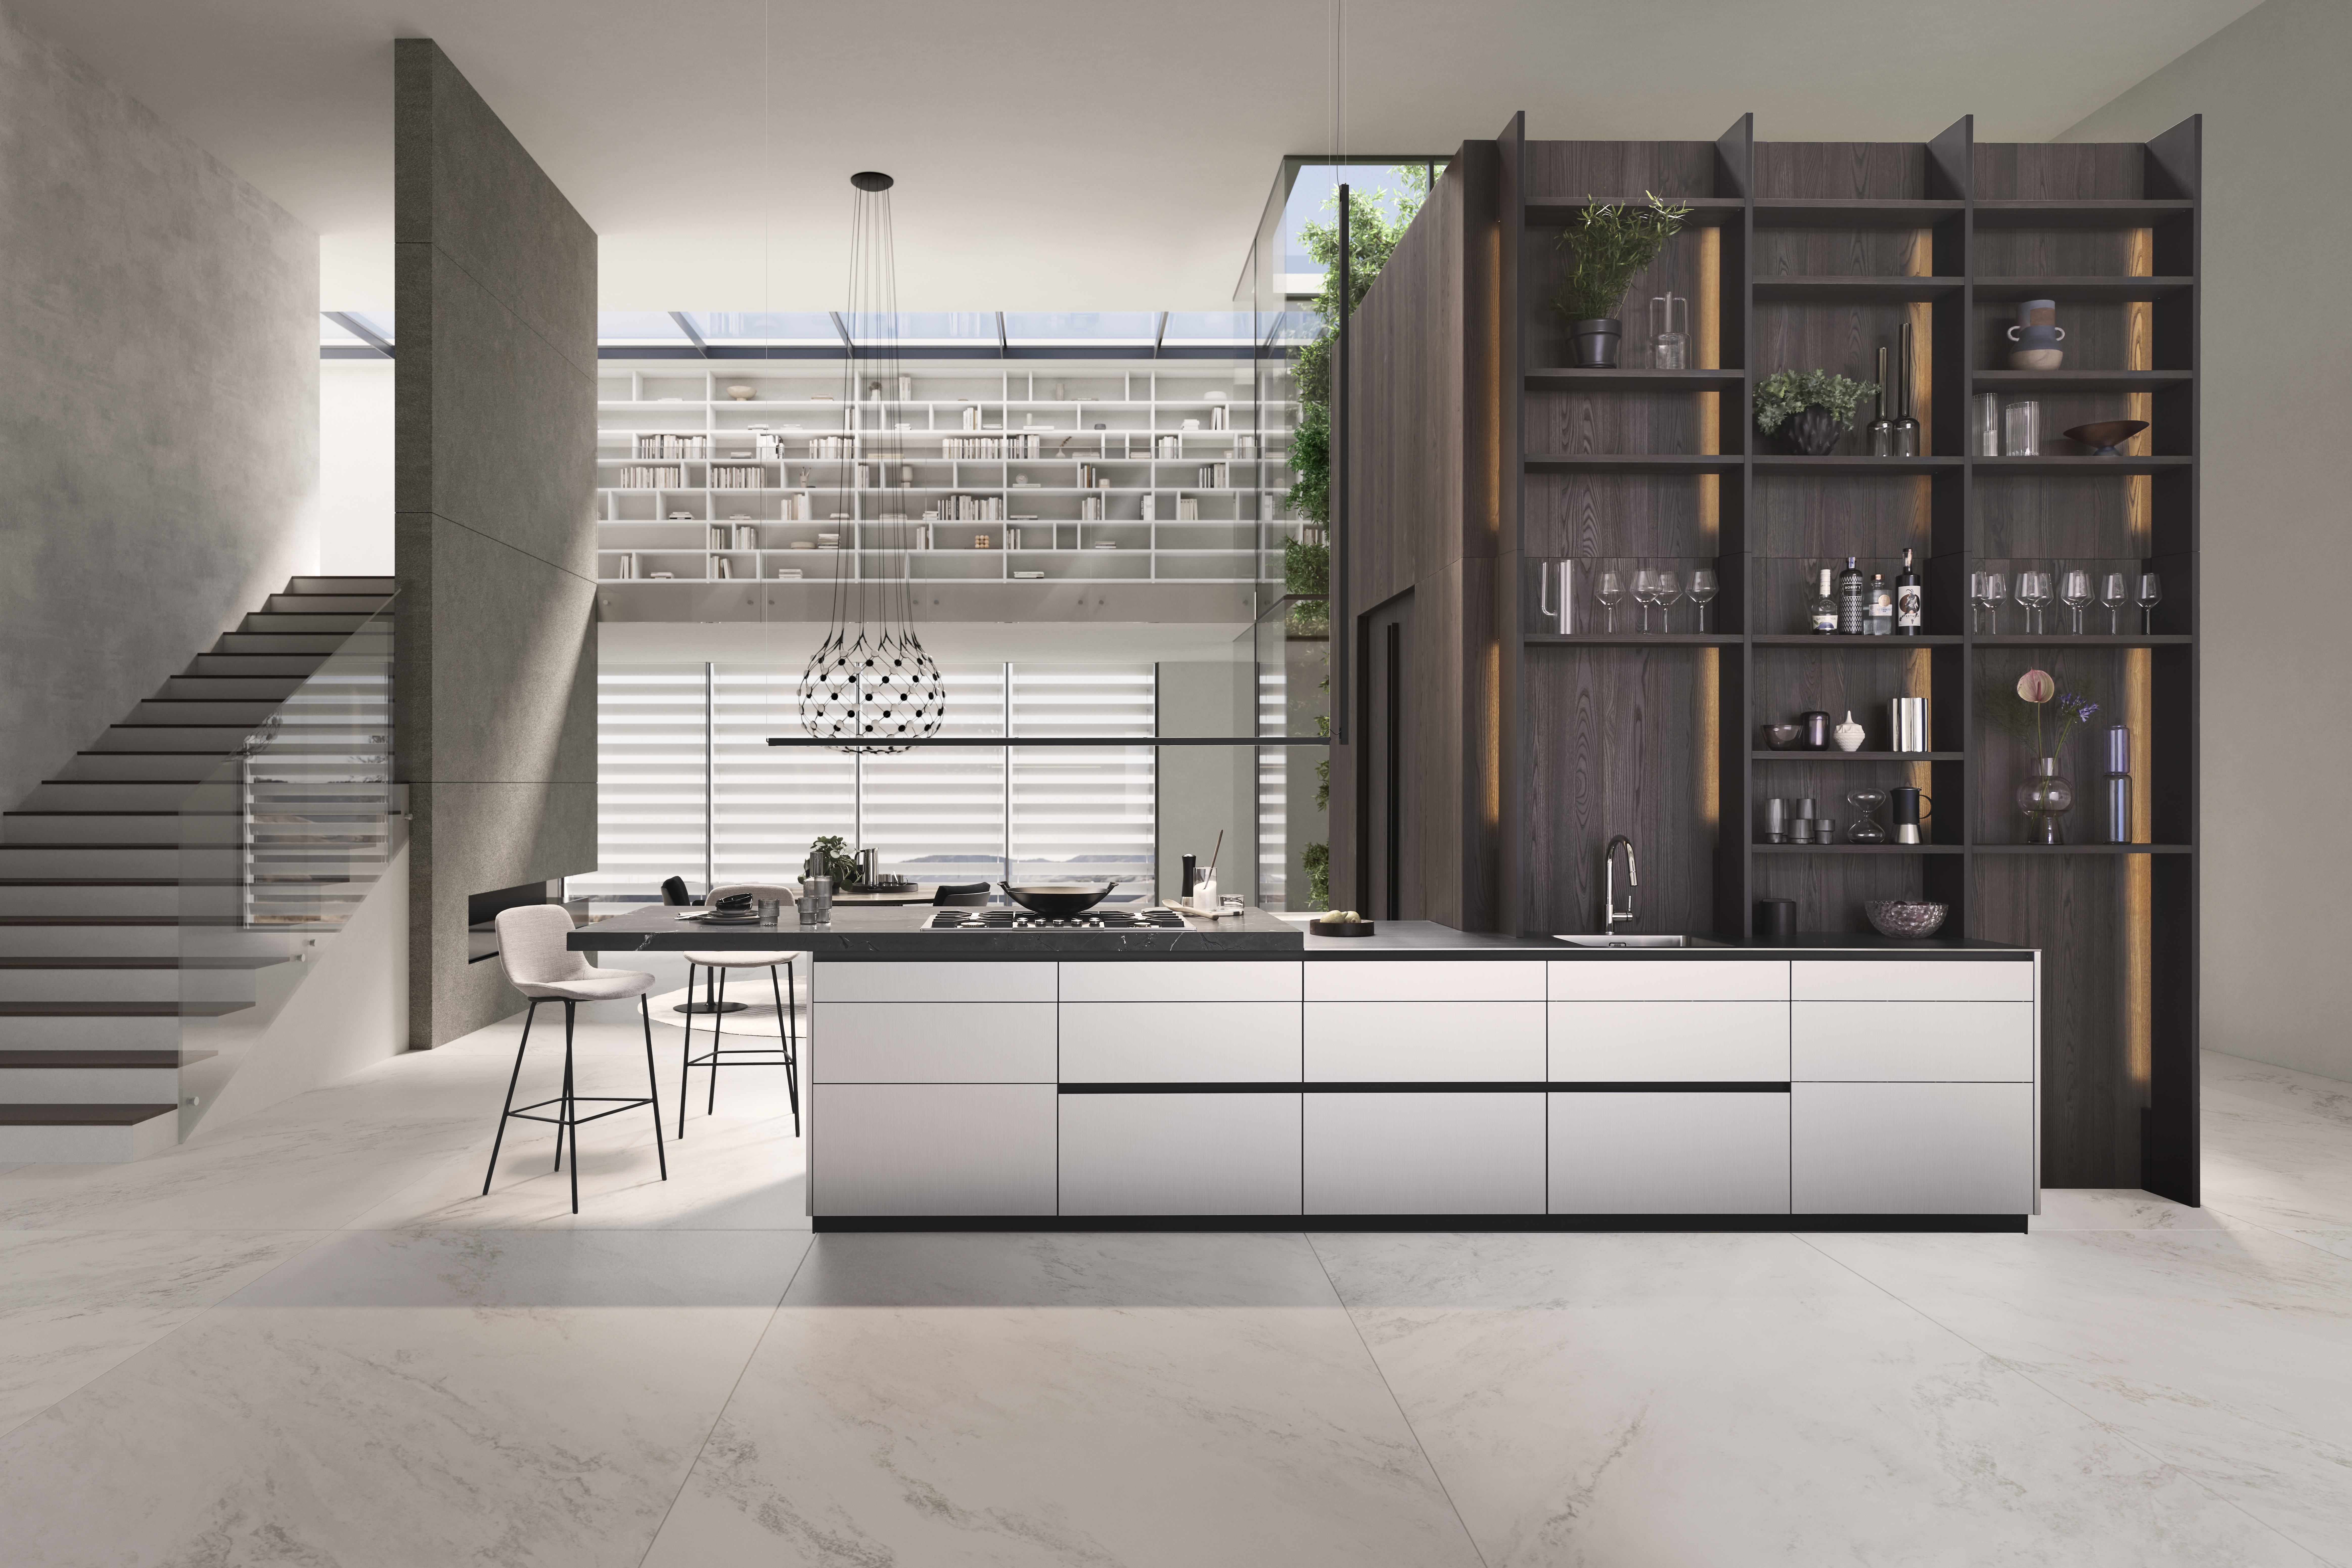
There is a significant difference between a standard kitchen refresh and a true luxury kitchen renovation. At the luxury kitchen level, you are talking about custom-made cabinetry crafted to millimetre precision, premium stone worktops – think honed Calacatta marble or engineered quartz – integrated appliances that disappear seamlessly behind bespoke joinery, and layered lighting schemes designed by professionals. Every decision is deliberate, every material chosen for both performance and beauty. As an official Leicht dealership, McNally Living brings that German-engineered precision and exceptional quality directly to Irish homeowners, pairing world-class cabinetry with expert design guidance.
This article walks you through every stage of what to expect: from the initial vision and planning right through budgeting, permits, demolition, construction, and the final sign-off. If you are undertaking a full home renovation or a major kitchen-only project, understanding the process in advance makes the experience far less stressful and the result far more satisfying.
In 2026, the most sought-after high end kitchens blend clean-lined modern design – induction cooking, smart home integration, handleless cabinetry – with warm, tactile textures like solid wood, natural stone, and layered ambient lighting. The aesthetic is refined but liveable.
We will be honest about both the exciting parts (designing a dream space that is completely yours) and the disruptive realities (dust, noise, weeks without a proper kitchen). This is an experience-based guide written for homeowners who want to go in with their eyes open.
Phase 1: Vision, Planning, and Kitchen Design
The most important work in any luxury kitchen renovation happens 4–12 weeks before demolition even begins. Rush the planning stage and you will pay for it later – in change-order fees, delays waiting for reordered components, or a finished kitchen that does not quite work the way you live.
Creating Your Design Brief
Start by documenting how you actually use your kitchen. Do you cook from scratch every evening or mostly entertain at weekends? How many people use the space simultaneously? Do you need a large island for family breakfasts, a dedicated coffee station, a walk-in pantry, or a wine fridge? Your design brief should capture all of this before a designer draws a single line.
Layout Planning
Classic layout thinking uses the work triangle – positioning the hob, sink, and refrigerator at the three points of a triangle for efficient movement. Modern luxury kitchens, particularly in open-plan spaces, often move beyond this to distinct zones: a dedicated prep area, a cooking and ventilation zone, a serving and socialising zone, and a separate pantry or utility area.
Style Choices and Their Impact on Time and Cost
Choosing between a classic shaker-style kitchen and a fully handleless, flat-front modern kitchen is not just an aesthetic decision – it affects lead times, costs, and craftsmanship requirements. Natural stone worktops require longer sourcing lead times than engineered alternatives. Bespoke joinery from a specialist workshop will take longer than semi-custom options. As a Leicht dealership, McNally Living offers access to an extraordinary range of door styles, finishes, and configurations that balance both worlds beautifully.
Expect several design meetings, digital 3D renders, and detailed technical drawings before any materials are ordered. This investment of time upfront prevents expensive mistakes later.
Phase 2: Budgeting, Contracts, and the True Cost of a Luxury Kitchen
Luxury kitchen renovations in Ireland in 2026 vary widely in cost depending on size, specification, and scope. Projects at the high end of the market typically start from the mid five figures and rise significantly from there. Understanding where that budget goes is essential.
Key Cost Categories
- Cabinetry and joinery – usually the single largest line item
- Worktops – stone, quartz, or porcelain slabs
- Appliances – cooking, refrigeration, dishwashing, extraction
- Flooring – if being replaced as part of the project
- Lighting – task, ambient, and decorative layers
- Plumbing and electrical work – rough-ins and final connections
- Design fees – charged by the studio or designer
- Labour – installation teams and trades
Cabinetry and appliances are typically the two largest line items and should be prioritised over decorative extras. A beautiful splashback matters far less than a poorly fitted cabinet run that does not align with your appliances.
Contingency Fund
Always set aside 10–20% of your total budget as a contingency. Older properties in particular frequently reveal surprises once walls come down: outdated wiring that needs upgrading, hidden water damage, or structural elements that require remediation before installation can proceed.
What Your Contract Should Cover
A solid contract protects both parties. It should include fixed or clearly itemised pricing, a payment schedule tied to construction milestones (not just calendar dates), a detailed scope of works, a clear process for agreeing any change orders, and approximate start and finish dates. Do not proceed without it.
Phase 3: Choosing Appliances Before Locking the Layout
In a luxury kitchen renovation, your major appliances drive almost everything else: cabinet sizes, clearances, ventilation design, electrical circuits, and even ceiling heights. This is why appliance decisions must be finalised before cabinetry is ordered and before any rough-in work is done.
How Appliance Choices Shape the Kitchen
A 36-inch range requires different cabinet runs than a 48-inch range with a built-in grill. Column refrigeration (separate fridge and freezer towers) changes the entire wall layout compared to an integrated American-style unit. Wall ovens need dedicated cabinet housings at specific heights. Integrated dishwashers must be positioned relative to the sink. Every one of these decisions needs to be locked in before your designer finalises drawings.
Lifestyle-Led Appliance Choices
Think about how you actually cook and entertain. Serious cooks prioritise range power and extraction capacity. Those who entertain frequently may want a wine fridge, a secondary prep sink in an island, or a built-in coffee machine. Bakers benefit from a steam oven or a dedicated proving drawer. Your appliance selection should reflect real life, not aspirations you will rarely act on.
Visit a Showroom Before Committing
Photographs and specifications only tell part of the story. Visiting a showroom allows you to experience real door sizes, feel the weight of oven doors, gauge how loud an extraction hood actually is, and understand how much space a 48-inch range dominates in a room. For high-ticket appliances, this step is not optional – it is essential.
Ventilation and Power: The Invisible Design Elements
Powerful appliances in luxury kitchens demand properly specified extraction systems. The extraction hood must be sized correctly in CFM (cubic feet per minute) for the output of your hob or range, the ductwork must be an appropriate diameter, and the route to the exterior must be planned from the earliest design stages.
Ventilation decisions have a cascade effect: they influence ceiling design, whether bulkheads are required, the height of upper cabinets, and where pendant lights or ceiling spots can be positioned. Change your range specification after ductwork is in place and you face costly rework.
A brief example illustrates why this matters: a client initially specifies a standard 4-burner induction hob and orders a 600mm extraction hood. Mid-project, they upgrade to a 6-burner dual-fuel range with higher BTU output. The existing duct is now undersized, the hood must be replaced with a wider model, the cabinet above must be re-specified, and the electrical circuit may need upgrading. That single late change can add weeks and significant cost.
Plan dedicated circuits for high-draw appliances from the outset, consider outlet placement carefully on islands and backsplashes, and confirm gas vs induction requirements with your designer and electrician before rough-in work begins.
Phase 4: Permits, Scheduling, and Pre-Construction Prep
Not every kitchen renovation requires planning permission or formal permits, but structural changes, new gas connections, and significant electrical upgrades typically do. In Ireland, your contractor or designer will advise on what applies to your specific project, but always confirm rather than assume.
Typical Permits and Approvals
- Building permit – required for structural changes or significant alterations
- Electrical permit – for new circuits, consumer unit upgrades, or major rewiring
- Gas safe registration – any new gas pipework or appliance connections
- Homeowner association approval – where applicable in managed developments
Factor realistic approval windows into your project schedule. Permits can take 2–6 weeks or longer depending on local authority workload.
Building the Project Schedule
Custom cabinets, stone worktops, and specialty appliances are long-lead items. They must be ordered well ahead of demolition so they arrive on site when needed, not weeks after the installation team is ready. Your project manager or designer should build the schedule backwards from your target completion date, identifying all lead times at the outset.
Preparing Your Home
Before work begins, protect floors in corridors and adjacent rooms, establish clear access routes for tradespeople and materials, and agree working hours with your contractor to minimise disruption to household routines. A pre-start meeting to confirm logistics – rubbish removal, on-site storage for materials, where tools will be kept, and dust-control measures – is time well spent.
Phase 5: Demolition, Rough Work, and the Messy Middle
This is the loud, dusty phase where your old kitchen disappears and the space can look considerably worse before it starts to look better. Managing your expectations here is important – what you are seeing is progress, even when it does not feel like it.
Demolition
Existing cabinets, worktops, appliances, and flooring are stripped out. In some projects, walls or ceilings are opened up to accommodate new services, structural elements, or layout changes. This phase moves quickly – a full kitchen can typically be demolished in one or two days.
The Rough-In Phase
With the space cleared, trades move in to install new or upgraded plumbing, electrical wiring, lighting circuits, ventilation ducting, and any structural framing for walls or islands. This is also the stage where formal inspections occur if permits are in place – and where an inspection failure can add time to your schedule. Your contractor should anticipate likely inspection requirements and build buffer into the programme.
Many homeowners hit an emotional low point during this phase. The space looks raw, unfamiliar, and chaotic. This is entirely normal. Trust the process and focus on the end result.
Setting Up and Surviving With a Temporary Kitchen
Once your main kitchen is out of commission, a well-planned temporary cooking setup will make the weeks of renovation significantly more manageable.
Set up a practical temporary kitchen in a spare room, dining area, or garage. You need: a microwave, a kettle, a toaster, a portable induction hob, and basic utensils and crockery. A slow cooker or air fryer is worth adding – both are highly capable with limited prep space and no oven access.
Stock up on meals that need minimal preparation. Plan for more takeaways and eating out during the most intensive construction periods, and factor this into your overall project budget. Keep children and pets completely out of the active work zone, ensure walkways remain clear, and confirm that any hazardous materials or sharp tools are securely stored at the end of each working day.
Phase 6: Installation – Watching Your Luxury Kitchen Take Shape
This is the phase most homeowners have been waiting for. The space begins to transform from a bare shell back into a real room – and then, rapidly, into something far better than what was there before.
Typical Order of Works
New flooring is usually installed first (if it is being replaced), followed by plastering, base coat painting, and then cabinet installation. Premium worktops are templated after cabinets are fixed in position – a precise process where the fabricator measures the exact space – and then cut off-site before being returned and installed, typically one to two weeks later.
Appliances, sinks, taps, splashbacks, and final paint coats follow once major installations are complete.
The Details That Define Luxury
At this level of specification, the craftsmanship details matter enormously: perfectly even gaps between cabinet doors, flush-fitting integrated appliances, precisely mitred stone corners with invisible joins, hidden fixings, and the smooth, consistent action of soft-close hinges and drawer runners. Leicht cabinetry, as any visitor to our showroom will appreciate, is engineered to deliver exactly this level of precision – and it shows in the finished result.
Lighting, Smart Tech, and Finishing Touches
Luxury kitchen lighting is layered, not single-source. The three layers are: task lighting (typically LED strips under upper cabinets, illuminating worktop surfaces directly), ambient ceiling lighting (recessed spots or a central feature), and decorative or accent lighting (pendants over an island, wall lights, or plinth lighting at floor level). Together they allow the kitchen to shift mood from bright and functional during cooking to warm and atmospheric for entertaining.
In 2026, smart controls are standard in high-end kitchens. Dimmer systems, app-based lighting scenes, and connected appliances that can be monitored and controlled remotely are all common requests. These systems need to be planned during the electrical rough-in stage – retrofitting smart controls is possible but adds cost and disruption.
Final fittings – handles or handleless push-to-open mechanisms, switch plate and outlet finishes, splashback installation, open shelving styling – are the last details to land. This is the stage where design decisions made months earlier come together visually, and it is enormously satisfying to see.
Phase 7: Inspections, Snagging, and Handover
Even the most beautiful kitchen needs thorough checking before you accept it as complete. A formal snagging process protects your investment and ensures everything has been finished to the standard you paid for.
Final Inspections
Where permits were obtained, formal sign-off inspections will be required for electrics, gas connections, and ventilation. Your contractor coordinates these – expect to allow a few days’ flexibility in your schedule around inspection dates.
The Snagging Walkthrough
Conduct a formal walkthrough with your contractor or designer and document every item that needs attention before final payment is released. Common snag items include:
- Paint touch-ups at corners, edges, or behind fittings
- Stiff or poorly adjusted hinges
- Misaligned cabinet doors or drawer fronts
- Chipped tiles or grout gaps in splashback areas
- Sealant gaps around sinks, worktops, or appliance edges
- Minor scratches on worktop surfaces
Handover Documentation
At handover, you should receive appliance manuals and warranty documents, care and maintenance instructions for stone worktops and any wood elements, manufacturer warranties for cabinetry (Leicht offers industry-leading warranty terms), and where applicable, as-built drawings reflecting any changes made during construction.
Living With Your New Luxury Kitchen
The first morning you make coffee in your finished kitchen after weeks of a temporary setup is a genuinely memorable moment. The space feels calm, considered, and exactly right in a way that is difficult to articulate until you experience it.
Give yourself a few weeks to settle into new workflows. Storage layouts that seemed logical in the design stage may shift slightly as you discover how you actually move around the space. Adjust, reorganise, and make it work for you – that flexibility is exactly what bespoke design enables.
For ongoing care: natural stone worktops should be sealed periodically according to your supplier’s guidance. High-end taps and handles respond well to gentle cleaning with non-abrasive products. Solid wood floors or cabinet elements need appropriate care products to maintain their finish. Your handover pack should include specific guidance for every material in your kitchen.
The long-term benefits are real and measurable: a significantly improved cooking and entertaining experience every single day, a space that works with how your household actually functions, and a meaningful uplift in property value. A well-specified luxury kitchen is one of the most impactful investments you can make in a home.
If you are ready to begin planning your own kitchen renovation, McNally Living’s design team is here to guide you from first brief to final handover. As an official Leicht dealership, we can offer access to one of the world’s finest cabinetry systems alongside expert Irish design advice and project management. Start with a realistic timeline, a clear budget, and the knowledge that – with the right team – the result will be worth every week of disruption.
FAQ: Luxury Kitchen Renovation Questions
How long does a full luxury kitchen renovation usually take?
From the first design meeting to final handover, most luxury kitchen renovations take 3–6 months in total. On-site construction typically runs 6–12 weeks, depending on the complexity of the project. Custom cabinetry from specialist workshops like Leicht, imported appliances, and natural stone can all carry longer lead times – factor these into your schedule from the very beginning. Always build buffer time in for inspections, snagging, and any remedial work that arises.
Can I live in my home during a major kitchen remodel?
Yes – the vast majority of homeowners remain in their property throughout a kitchen renovation. The keys to making it work are: setting up a functional temporary kitchen, agreeing clear working hours with your contractor, and establishing dust control measures. For very intensive projects or whole-home renovations involving multiple trades simultaneously, some families choose short-term rental accommodation for the most disruptive weeks.
Do I need to renovate the rest of my home when I upgrade to a luxury kitchen?
Not necessarily – a luxury kitchen renovation is very commonly undertaken as a standalone project. That said, a high-specification new kitchen can highlight dated finishes in adjacent hallways or dining areas, so it is worth considering how your finishes, flooring, and paint palette coordinate with neighbouring spaces. If you are planning a broader home renovation, phasing the structural and services work together can save time and cost.
How much of my budget should go toward appliances versus cabinetry and worktops?
Cabinetry and worktops typically command the largest share of a luxury kitchen budget – and rightly so, as they define the look, storage capacity, and durability of the space for decades. Appliances represent a core performance investment and should be budgeted realistically rather than treated as an afterthought. The most important principle: choose appliances that match how you actually cook and entertain, then let those choices inform the cabinet and layout design around them.
Is a luxury kitchen renovation worth it if I might sell in a few years?
A well-designed modern kitchen is consistently cited as one of the most influential spaces for property buyers, and a luxury kitchen in excellent condition can significantly improve both sale price and time on market. If resale within 3–5 years is likely, favour timeless layouts and neutral core finishes – natural oak, classic white or grey cabinetry, understated stone – and express personality through styling elements that are easy to change. Beyond the financial return, you also gain several years of significantly improved daily living in the meantime.